
[ad_1]
Amateur or savant, there are a few important rules to keeping out of trouble when repairing your ride’s wiring

Article content
Automotive wiring is a mystery to some and second nature to others. Whichever way you lean, however, you’re sure to have a few instincts and habits. Here are a few common mistakes to steer clear of.
Article content
Avoid using solid-core wire
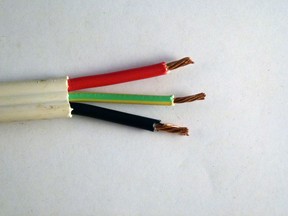
Automotive wiring is the strand-type (several small wires bundled together) for a good reason. The constant vibration and shocks that vehicle wiring is exposed to every day would break stiffer solid-core wire. It may work as a temporary fix, but down the road it’s sure to let you down. You should always try to match the gauge of the wire as well. Something too thin might fail in a power surge and something too thick may add more resistance to the circuit than is desired (more on that later).
Electrical Tape
Black electrical tape is handy stuff and you may find lots of it on your vehicle wiring, but it should never be used to protect a new repair. Moisture and temperature variations will cause it to loosen and unwrap. Electrical tape should only be used to bundle wires, not protect them. Shrink or heat wrap tubing is the best protection and if you do any amount of electrical work in your home shop, you should have a selection of varying sizes. While it’s done by lots of DIY and professional techs every day, avoid using a lighter to heat the wrap, but instead use the safer heated-air-gun. This will avoid accidentally melting the insulation on neighbouring circuits and cuts the risk of a fire drastically.
Article content
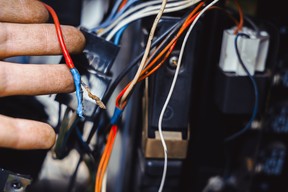
Quick connector kits
Those little plastic folding clamshell connectors that lock two or more wires together should be avoided like the plague. They are easy to use, but leave exposed wires open to the elements and don’t grip the wires tightly, leading to poor contacts and hard-to-trace intermittent faults. Even shrink wrapping them is no guarantee of a solid repair that will last.
-

Your Corner Wrench: 3 DIY wiring mistakes that can to fry your vehicle’s electrical system
-

Troubleshooter: What if vehicles just didn’t have wires?
Connector sizes
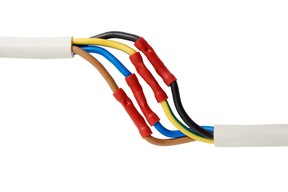
Get the right sized connectors and wire. When crimp style connectors are required, make sure you get the right size for the job. If they’re too big, the crimp won’t be solid; if they’re too small, you may have to strip a few strands of the wire to get them to fit, leaving a circuit that may be too weak to carry the load. Always remember to strip enough insulation off any wire you are installing a crimp connector on to avoid crimping the wire’s coating. The crimp should only touch copper, not the coloured insulation.
Know the circuit
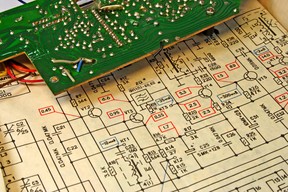
If you’ve spent your DIY career working on vehicles of the pre-injected era, congrats; a lot of techs envy you. But when it comes to computer-controlled injected vehicles, electrical circuits are another deal altogether. On these rides there are a lot of circuits that carry low-voltage signals. Repair one of these wires with too much solder or even too long a splice, and you can add enough resistance to cause a signal error and computer miscalculation, leading to a check engine light or a running problem.
[ad_2]
Source link


